Proper preparation is half the battle won.
This holds true for car trips, especially when you are about to embark on a journey to a destination where you’ve never been before.
You can prepare for a smooth ride by:
- Pre-checking the address of your destination and inputting it into your navigation system.
- Looking at VanAnaarBeter.nl to verify whether there’s any ongoing roadwork on your planned route.
- Checking the weather forecast and traffic updates (traffic congestions).
Exterior Vehicle Inspection
To ensure a safe drive, before entering your car, perform an inspection to confirm that it’s technically in good condition, both interiorly and exteriorly.
Moreover, it’s advisable to carry out a more in-depth inspection of your car at least once a month.
Use your car’s manual for this - it provides information about your car’s technical configuration, which can vary depending on the make and model of the vehicle.
Lights check
Regularly ensure that your car’s lights (including the headlights, turn signals, brake lights, rear fog light, etc.) are functioning properly.
Have someone outside verify that the lights you are operating from inside the car actually working.
1) Remote Inspection
Also translated as: Visual Check From A Distance or Distance Inspection ❓
The initial inspection of your car is a distant check. There are several points to consider.
CHECKLIST
| Look for | Potential issue |
|---|---|
| Is the car leveled? | If not, it might have a flat tire. |
| Is there anything underneath the car? | Verify there are no individuals, pets, toys, glass, or other objects beneath the vehicle. |
| Examine for leaks | A stain under the vehicle may signify a liquid leak, such as oil or fuel. |
2) Circle around your Car
Once you’re at your car, take a full walk around it. This allows you to easily identify any exterior damages or defects.
Oncoming Traffic ⚠️
Begin your car walkthrough at the left headlight. From there, proceed around the car via the driver’s side. This approach always allows you to see any incoming traffic. ‼️

CHECKLIST (exterior)
- Doors, hood and tailgate: Are they all securely closed?
- Body: Examine the car’s exterior for dents, scratches, or other forms of damage.
- License plates: Are they clean, visible, and clearly readable?
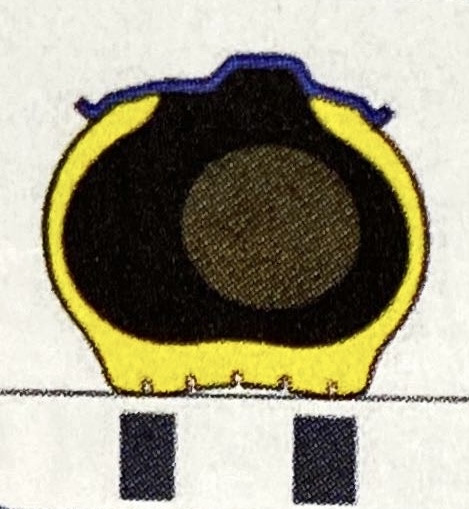
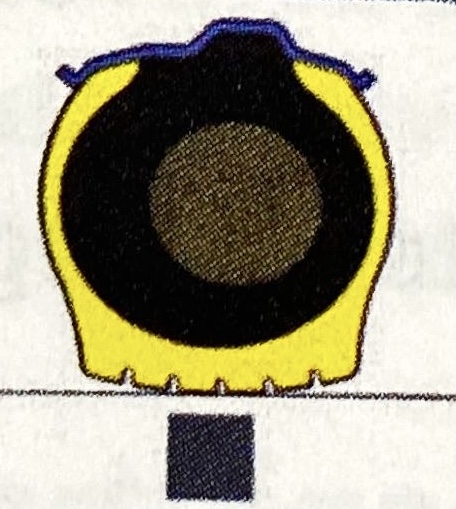
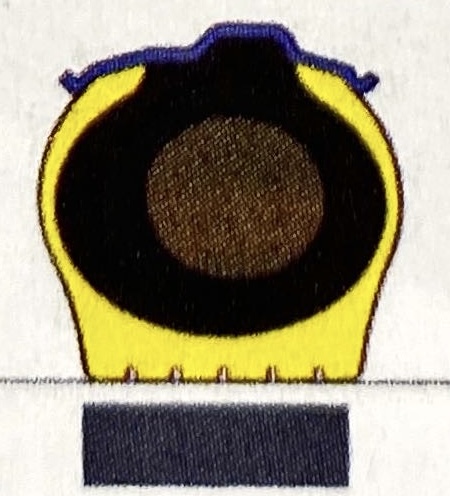
- Tires:
- Pressure is too low (contact only on the sides)
- Pressure is too high (contact only on the center)
- Pressure is ideal (contact across the whole profile)
- Inspect tires for:
- Any damages or bulges
- Pebbles, nails or other hard objects attached in the treads
- Tread depth (main groove must be at least 1.6 mm deep) ‼️
- Appropriate tire pressure (refer to the vehicle’s instruction manual)
- Any damages or deformities in the rims
- Valve caps. Every valve should have a gray cap (air tire) or green cap (nitrogen tire) to prevent sand or dirt infiltration.
- Pressure is too low (contact only on the sides)
- Lights and reflectors: Are they intact, clean, and firmly attached?
- Windows and exterior mirrors
- Ensure that the exterior mirrors are firmly attached.
- Verify that the exterior mirror glass is intact, clean, and clear.
- TIP: Always keep an ice scraper along with a sponge, cloth or chamois (gamuza?) in your car.
3) Look under the hood
⚠️ Always check fluids with a cold engine: When conducting self-permitted fluid checks Ensure to switch off the engine and allow it to cool down first. Checking fluids when the engine is hot may result in severe burns!
After inspecting the exterior of the car, a brief check under the hood follows.
The hood can be opened from inside using a lever, typically located on the driver’s side, lower left near your dashboard. If you can’t find the lever there, refer to your car’s instruction manual. Open your hood as wide as possible and secure it with the supporting rod.
The image below highlights the most important components under the hood.
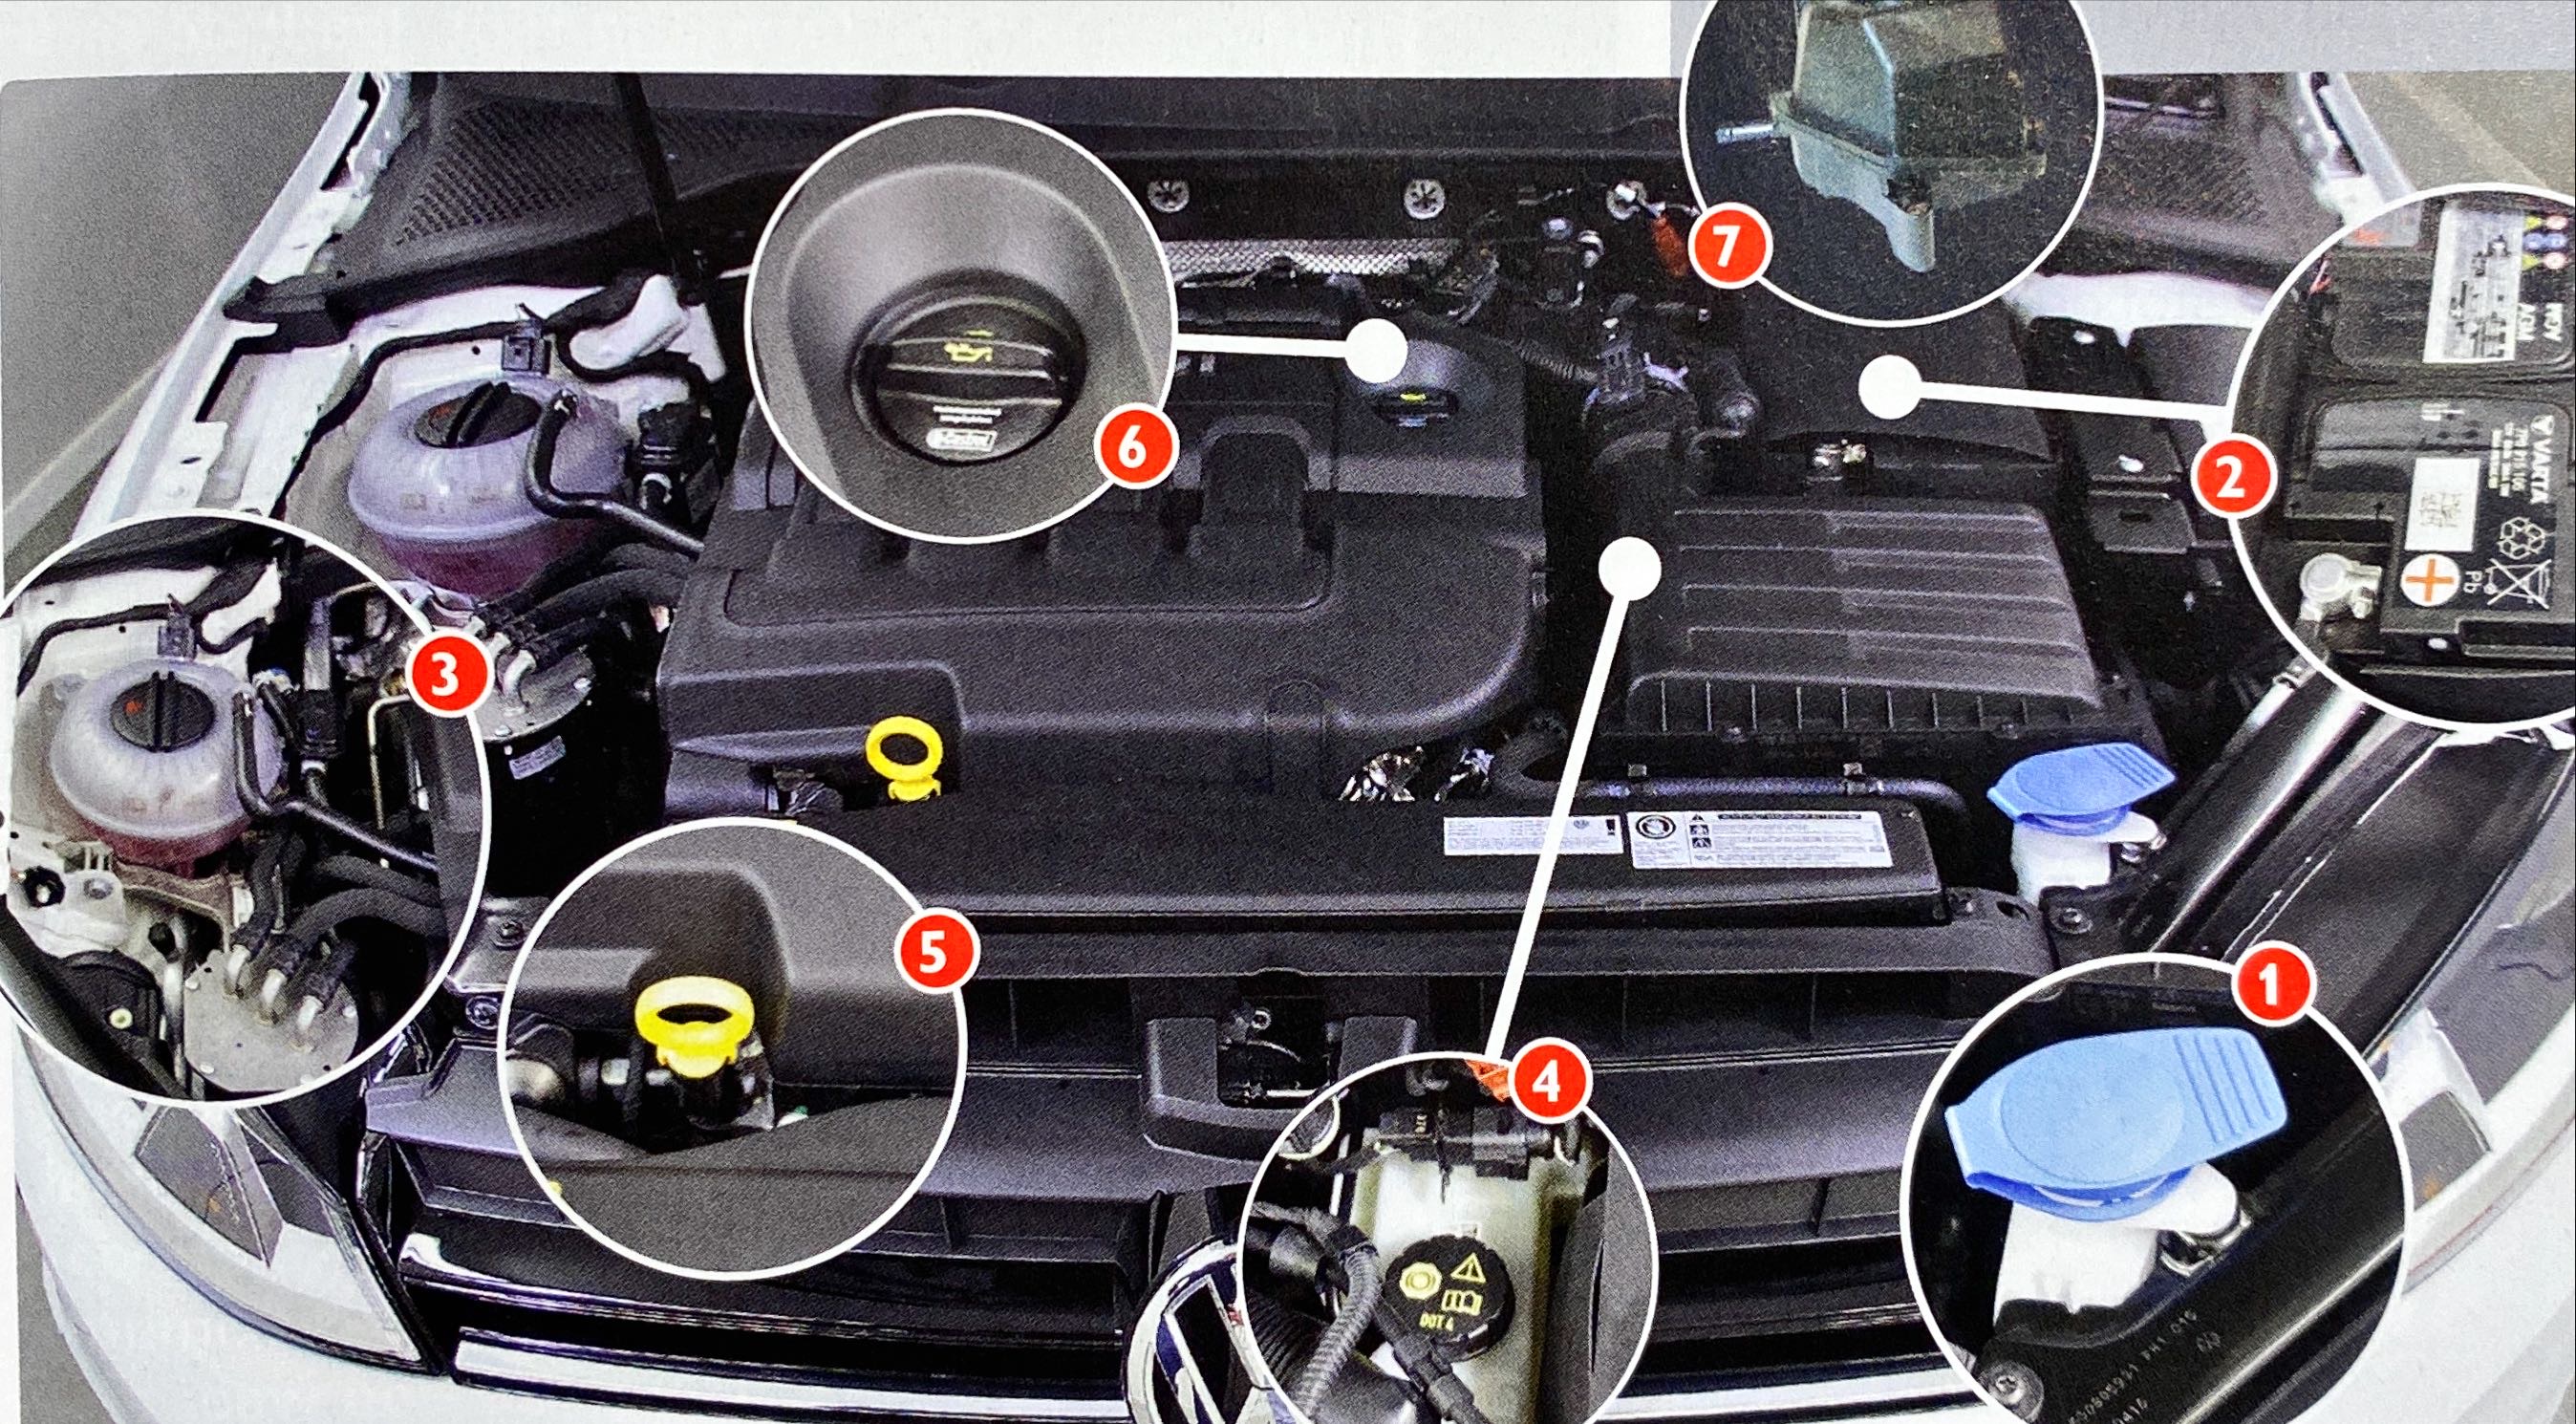
- Windscreen washer fluid reservoir.
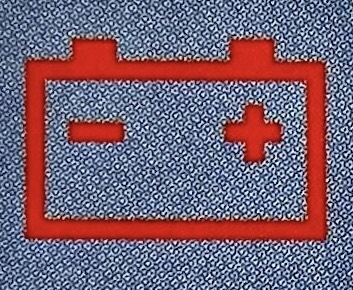
- Battery + battery fluid.
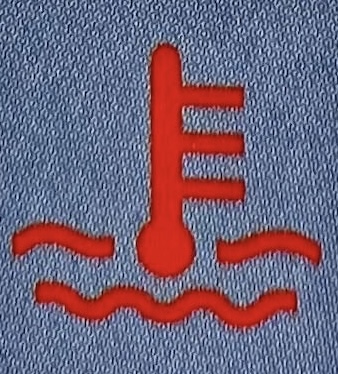
- Coolant expansion tank.
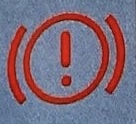
- Brake fluid reservoir.
- Engine oil dipstick.
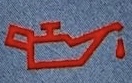
- Oil filler cap.
- Power steering oil reservoir.
CHECKLIST
- Windscreen washer fluid: You can recognize the reservoir for this fluid by the icon on the cap. Check that there is enough fluid in the reservoir. Otherwise, top up with a mixture of windshield washer fluid and water. In winter, also add antifreeze or spirit so that the windshield washer fluid does not freeze.
- Battery + battery fluid: a large battery needed to start the engine. As you drive, the battery charges itself. A battery is filled with battery fluid: a mixture of sulfuric acid and distilled water. Many batteries are maintenance-free. A non-maintenance-free battery may need to be refilled with distilled water.
- Coolant: The coolant reservoir is transparent and round. Look on the reservoir to see if the coolant level is between the MIN and MAX lines. Check and refill the coolant only when the engine is stationary and cooled down! Cover the reservoir filler cap with a cloth and loosen the cap slightly to allow the pressure to escape (compare it to opening a bottle of cola). Only when the pressure is gone, twist the cap completely off the reservoir. Be sure not to go above the maximum line when refilling. Then tighten the cap firmly again.
- Brake Fluid: Brake fluid is vital for effective braking. The fluid level should sit between the minimum and maximum indicators. If the level lowers beneath the minimum mark swiftly, the dashboard icon will illuminate. Refer to your vehicle’s manual to identify the required brake fluid, top it up, and check your brake system. Under normal conditions, a functioning brake system should not leak fluid. Due to wear from driving, the brake fluid quality diminishes. Hence, it is replaced every two years during scheduled maintenance. The brake system is also purged at this time.
- (and 6. )Engine Oil Dipstick and Oil Filler Cap: Engine oil serves as the motor’s coolant, lubricant, and cleaner. Consequently, check the engine oil level monthly. Ensure the car is on a flat surface and the engine has cooled before checking. Remove the dipstick and clean it with a fresh cloth. Insert the stick back until fully inserted, pull it out, and note the oil level. If oil level is low, open the oil filler cap (F) and carefully add a maximum of 0.5 liters of oil at a time. Afterward, recheck the oil level.
- Power Steering Fluid: A vehicle equipped with power steering possesses a reservoir for hydraulic fluid. Entrust the task of filling this reservoir to trained professionals.